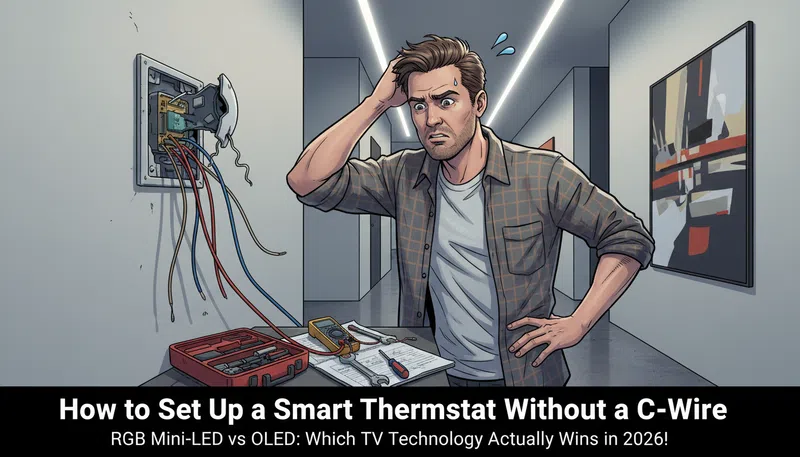
So I pulled my old thermostat off the wall one Saturday morning, fully expecting a quick swap. Thirty minutes, tops. What I found instead was a cluster of thin colored wires crammed into a backplate with no label, no logic, and absolutely no blue wire going anywhere useful. No C-wire. Just a jumble that made me question whether I’d gotten in over my head.
If you’ve been in that exact position — standing in your hallway with a smart thermostat still in the box — this is for you.
What the C-Wire Actually Does (And Why Older Homes Don’t Have One)
Here’s the short version: a C-wire, or common wire, gives your smart thermostat without C-wire workarounds their whole reason for existing. It delivers a continuous 24-volt stream of power so the thermostat stays connected to your Wi-Fi, keeps the display on, runs remote sensors, and doesn’t have to borrow power from somewhere it shouldn’t.
Traditional thermostats didn’t need this. They were basically just switches — dumb, reliable switches that ran on a couple of AA batteries. They didn’t need to ping a server at 2am to check the weather forecast.
Smart thermostats do.
Homes built before roughly the mid-2000s often have four-wire systems: R (power), G (fan), Y (cooling), W (heating). That’s it. No fifth wire. No C. Contractors back then had no reason to run one, because nothing needed it.
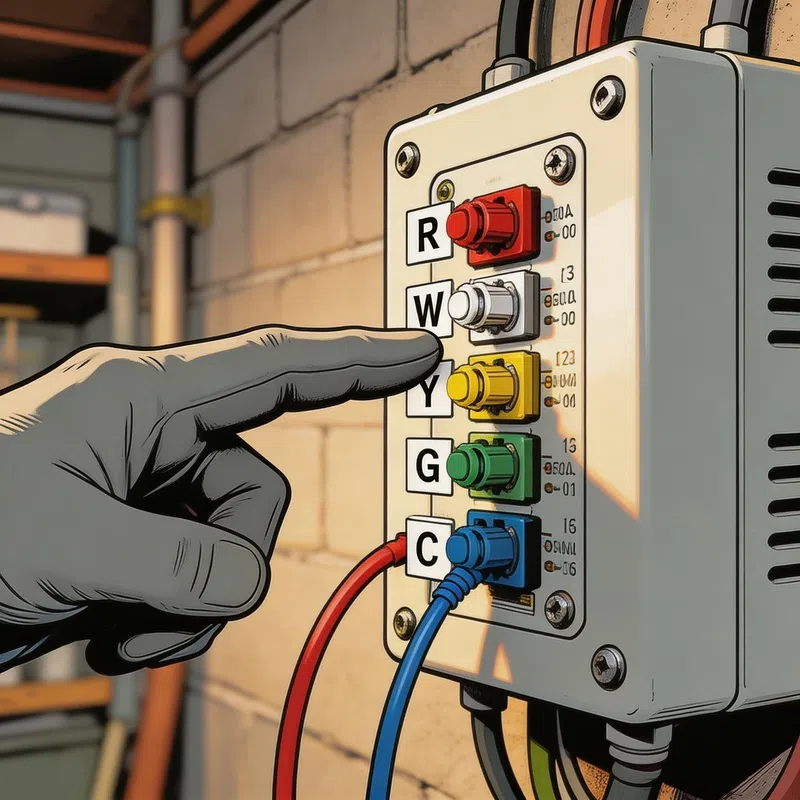
The Wire Color Problem Nobody Warns You About
Here’s something that genuinely caught me off guard: wire colors mean almost nothing. I assumed the blue wire was the C-wire because that’s what every YouTube tutorial suggested. Turned out someone had used blue for the fan wire during a repair years ago. The only thing that matters is the label on the terminal — both at the thermostat backplate and at the HVAC control board inside your air handler or furnace.
Take pictures of both before you touch anything. Seriously. Don’t rely on memory.
Your Options When There’s No C-Wire
You’ve confirmed it — there’s no C-wire hiding behind the wall, no extra unused wire bundled up in there. Now what?
There are a few real paths forward, and honestly, not all of them are equal.
Option 1: Check for a Hidden Wire First
Before doing anything else, look carefully at the wire bundle coming through the wall. Sometimes there’s a fifth or sixth wire that was never connected — just coiled up or wrapped around the others. If you find one, connect it to the C terminal at the thermostat end and the C terminal at the HVAC board. Done. Free fix.
It’s worth spending ten minutes on this before buying anything.
Option 2: Use a Power Extender Kit (PEK)
Some thermostat brands include an adapter in the box — usually called a Power Extender Kit or a C-Wire Adapter — specifically designed for four-wire homes. It installs at the HVAC control board and effectively creates a virtual C-wire by repurposing existing wires to carry both signal and power simultaneously.
This is probably the cleanest solution if your thermostat brand supports it. The installation isn’t complicated, but it does require getting comfortable inside your air handler, which some people aren’t up for.
Option 3: Repurpose the G-Wire (Fan Wire)
If you don’t have an adapter, you can move the G-wire (fan control) to the C terminal — but you have to do this at both ends, the thermostat and the HVAC board.
The trade-off is real: you lose independent fan control. The fan will still run during heating and cooling cycles, but you won’t be able to turn it on manually just to circulate air. For most people, that’s a minor inconvenience. For others, it’s a dealbreaker. Worth thinking about before committing.
Option 4: External AC Adapter (Wall Plug Method)
This one’s a bit inelegant, but it works. A 24V AC adapter plugs into a nearby outlet and runs two leads to the RC and C terminals on the thermostat baseplate. It basically bypasses your HVAC wiring entirely and just powers the unit directly from the wall.
The downside is cosmetic — you’ll have a thin wire running along your baseboard or up the wall. Some people don’t care. Some people absolutely do.
Option 5: “Power-Stealing” Thermostats
Certain smart thermostats are engineered to operate without a C-wire by quietly drawing tiny amounts of current from the heating and cooling wires to charge an internal battery. This works surprisingly well in most homes, but it’s not bulletproof.
On some HVAC systems — especially those with sensitive gas valves or newer micro-controller boards — this power-borrowing can cause short cycling, where the system clicks on and off more than it should. If you go this route and start noticing your system behaving strangely, the power-stealing is likely the culprit.
Comparison: Smart Thermostat Options for Homes Without a C-Wire
| Thermostat Type | C-Wire Required? | Built-in Workaround | Fan Control Lost? | Best For |
|---|---|---|---|---|
| Power Extender Kit Models | No (with PEK) | Yes — included adapter | No | Four-wire homes wanting full features |
| Power-Stealing Models | Usually No | Yes — internal battery | No | Easy installs, most modern HVAC |
| Battery-Operated Models | No | Yes — runs on batteries | No | Budget-friendly, simple setups |
| G-Wire Repurpose Method | No (modified) | DIY at HVAC board | Yes | Experienced DIYers, mild climate |
| External AC Adapter | No | External plug-in | No | Any home with nearby outlet |
A Few Things That Catch People Off Guard
Draft Coming Through the Wall
There’s a hole in your wall where those wires run through. If it’s not sealed, outside air — or air from inside your walls — can sneak up to the thermostat sensor and give it completely wrong readings. Your house ends up 68°F everywhere except next to the thermostat, which thinks it’s 74°F because cold air is leaking through the backplate gap.
Plug it with foam, caulk, whatever you have. It sounds trivial. It’s not.
Old Mercury Thermostats
If your existing thermostat is more than 20 years old, there’s a reasonable chance it contains a small glass mercury switch. Don’t throw it in the trash. Mercury is a hazardous material — most hardware stores and HVAC supply shops will take it for proper recycling. Earth911 has a recycling locator that makes finding a drop-off point straightforward.
One R Wire vs. Two
Some systems have both an RH and an RC wire. Some only have one R wire. If you’ve got a single R wire, it typically needs to go into the RC terminal on most modern smart thermostats. Miss this and nothing works, and you’ll spend an hour thinking you’ve wired something wrong when you actually just used the wrong terminal.
Before You Call a Technician
In my experience, most C-wire problems genuinely don’t need a professional visit. The PEK method, the G-wire swap, even the external adapter — these are all within reach for anyone who’s comfortable turning off a breaker and reading a diagram. This wiring guide from This Old House and HVAC-Talk’s community forums have helped a lot of people work through the specifics for their exact system.
If you’re unsure about your HVAC board and don’t want to risk anything, the EnergyStar smart thermostat resource page is a solid starting point before spending money on a technician. And the Department of Energy’s home energy guidance gives useful context on what you’re actually saving by making the switch.
The Stuff Nobody Puts in the Instructions
Mount the baseplate level. It sounds obvious. There are thermostats that include a small bubble level on the back for exactly this reason — use it. A crooked thermostat on a clean wall is the kind of thing you notice every single day.
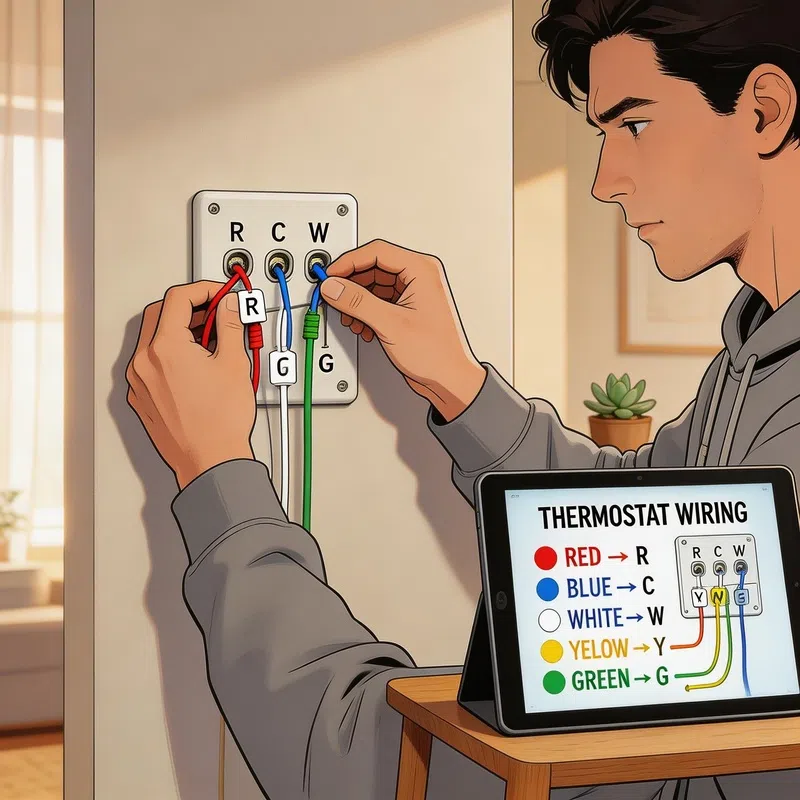
Label every wire before you disconnect it from the old thermostat. Most smart thermostat kits include small stickers for this. If yours came with them, actually use them instead of “just remembering” the colors.
And if you find multiple wires sharing a single terminal on your old thermostat, only label and move the one that actually runs to the thermostat. The others connect elsewhere in your system and should stay exactly where they are.
The whole job, done properly, usually takes under an hour. The week after — when you’re adjusting the temperature from your couch without getting up — feels like a disproportionately large reward for the effort. Which, honestly, is kind of the point.