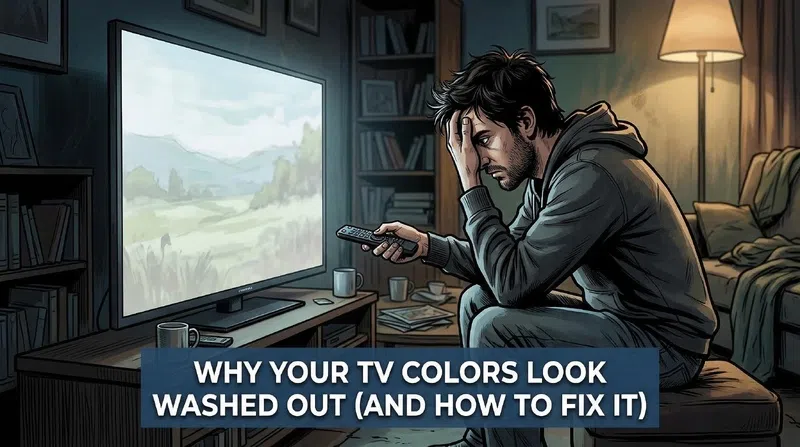
My TV looked absolutely fine in the old apartment. Same console, same cables, same everything. Then I moved, plugged it all back in, and the picture looked like someone had stretched a thin gray sheet over the screen. Blacks were a murky charcoal. Reds looked salmon. It took me an embarrassingly long time to figure out what had changed.
Nothing was broken. That’s the thing. The fix took about four minutes once I understood what was actually happening.
The First Thing Most People Get Wrong
Before touching a single setting, go into your picture mode menu and check which preset is active.
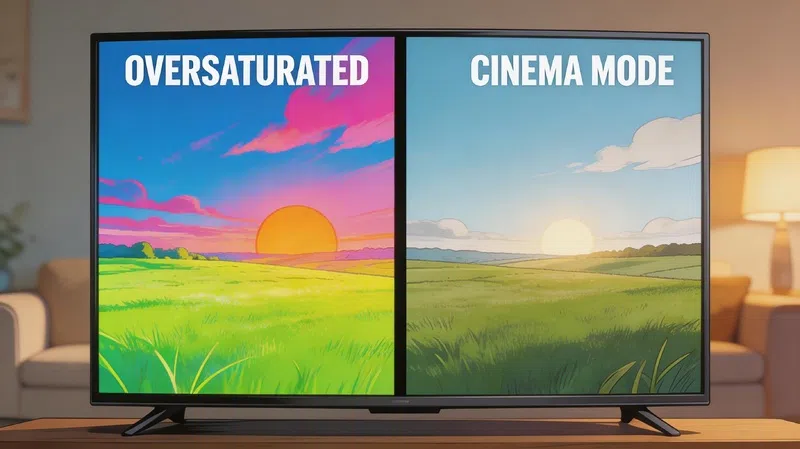
A lot of TVs default to Vivid or Dynamic mode straight out of the box. That sounds like it would be good for colors, but it usually isn’t. These modes were designed for brightly lit showrooms where TVs compete for attention across a crowded floor. They crank saturation, boost artificial sharpness, and push contrast to levels that look dramatic from twenty feet away and genuinely unpleasant in a normal home.
Switch to Cinema, Movie, or Filmmaker mode. It might look slightly dimmer at first. That’s normal. Your eyes are just adjusting from an overcorrected image to something that’s actually calibrated properly. Filmmaker mode in particular is worth trying if your TV has it — it disables most processing automatically and tries to show you the image the way it was intended to look.
Standard mode is often just as bad as Vivid, by the way. It tends to pull toward a cooler, blue-tinted image that makes everything look slightly artificial. I used to think Standard was the safe middle ground. It isn’t, really.
The Core Settings and What They Actually Do
If switching presets doesn’t solve it, individual settings need attention. The good news is that only five of them actually matter for this problem.
| Setting | What It Controls | What Goes Wrong |
|---|---|---|
| Brightness | Darkness of shadows and black levels | Too high creates a milky, washed-out look across the whole image |
| Contrast | Brightness of highlights and whites | Too low makes the image look flat and dim |
| Backlight / OLED Light | Overall light output of the panel | Too low in a bright room makes colors look faded |
| Sharpness | Artificial edge enhancement | Too high adds noise and halos that obscure real detail |
| Color / Saturation | Intensity of color | Too low drains color; too high destroys detail in bright scenes |
Brightness is the one that catches people most often. The name is misleading — it doesn’t make the image brighter in the way you’d expect. It controls where black sits on the tonal scale. If it’s set too high, nothing in the image is truly dark, and everything looks like it’s been washed with a gray filter.
Also worth adjusting: color temperature. Most TVs default to Cool, which skews blue. Switching to Warm1 or Warm2 looks slightly orange at first, but it’s genuinely more accurate. After a few days you stop noticing, and then you put the TV back to Cool and it looks like someone turned on a fluorescent light.
The RGB Range Problem Nobody Talks About Enough
This is the one that got me when I moved apartments. If your TV colors look washed out specifically after connecting a PC, gaming console, or a new streaming device, this is probably your answer.
Devices encode color information using number ranges. The two standards are:
- Full RGB (0–255): Used by PCs and most gaming consoles
- Limited RGB (16–235): Used by broadcast TV, disc players, and most streaming devices
When these don’t match, the TV misinterprets the signal. If your console is sending Full range but your TV is set to Limited, the TV expects pure black to arrive as level 16. But your console is sending 0 for black, so the TV reads that as something slightly below its darkest expected value and displays it as dark gray instead. Every shadow in every scene gets lifted. The whole picture looks like it has a fog over it.
How to Fix It by Device
Gaming consoles: Find the video output settings and check what RGB range is selected. Then match it on the TV side under the HDMI input settings (sometimes labeled “HDMI Signal Range” or “Black Level”). They need to match.
PC connected via HDMI: Set both the graphics driver output (in NVIDIA, AMD, or Intel control panel settings) and the TV input to Full. Mismatches here are extremely common.
Streaming sticks and set-top boxes: These typically output Limited range. Set the TV to Limited or Auto for those inputs.
It sounds fiddly, but once you fix it, the difference is immediate and obvious.
Eco Mode Is Quietly Ruining Your Picture
Energy-saving features are the other silent culprit. Most TVs enable some form of eco or energy-saving mode by default, and in my experience, it’s one of the first things to disable when a picture looks off.
These modes intentionally lower backlight intensity and reduce contrast to cut power consumption. That’s a reasonable trade-off if you know you’re making it. But most people don’t know it’s on, and they spend time adjusting color settings while the TV is simultaneously dimming itself based on ambient light sensors that aren’t very smart about when to activate.
Turn it off. It’s usually under Settings > General or Settings > Eco Solution depending on the TV brand. While you’re there, look for anything called Adaptive Brightness or Auto Brightness and disable that too. These sensors tend to misread room lighting and dim the screen at the worst possible moments.
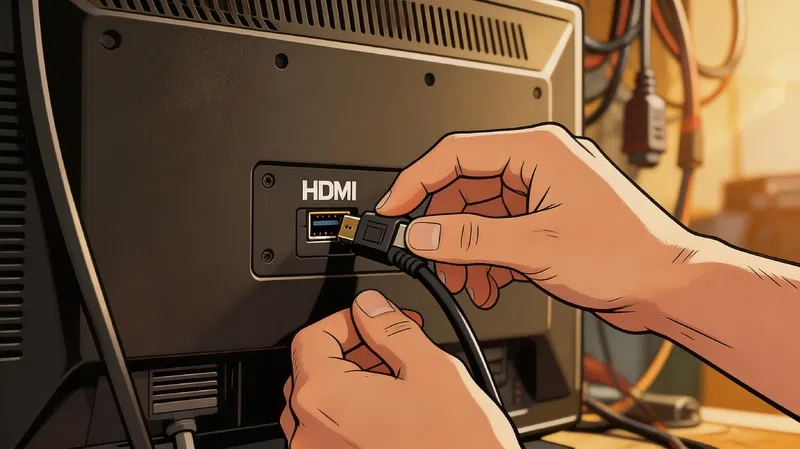
When the Problem Is the Cable, Not the Settings
About 80% of visual glitches in new installations come from HDMI cables that aren’t up to the job. That’s a number that surprises people, but it makes sense when you think about what HDMI cables actually carry — high bandwidth digital signals that are sensitive to interference and physical damage.
Signs Your HDMI Cable Is the Problem
If you notice random dots or “snow” across the picture, that’s the digital signal struggling to complete the journey. A green or purple color tint, especially in darker scenes, often means the cable’s internal shielding is damaged. Intermittent signal drops that happen when you shift furniture or adjust the cable angle almost always point to a physically compromised cable.
Running HDMI cables directly alongside thick power cables can also inject electrical noise into the signal. Keep them separated where possible. And if a cable is hanging unsupported over a long distance, the weight of the cable itself can stress the connector pins over time.
Try a different cable before assuming any picture quality problem is a settings issue. It’s the simplest test and it’s free if you have a spare.
HDR Is a Separate Problem Entirely
If the picture looks fine normally but becomes overblown or murky the moment HDR content starts playing, the issue is specifically in the HDR configuration.
HDR content uses completely separate picture settings from standard content. A TV that looks perfectly calibrated in SDR can look genuinely awful in HDR if the settings haven’t been touched. Features like Dynamic Contrast or HDR+ Mode aggressively process the signal and tend to blow out bright highlights while turning midtones flat and gray.
Check that HDMI Deep Color or HDMI UHD Color is enabled for the relevant input, and set to 10-bit minimum. Leaving it at 8-bit for HDR content noticeably reduces color richness.
If you’re using a PS5 or similar console, run the built-in HDR calibration wizard. The console and TV need to agree on what the maximum brightness of your specific panel is, otherwise the tone mapping will be wrong and the image will look like exactly what this article describes.
If Nothing Has Worked
A factory reset is worth trying when settings feel corrupted or a recent firmware update changed something across all inputs. On most TVs it’s in Settings under General or System, usually requiring a PIN that defaults to 0000.
After resetting, test with the TV’s built-in apps before reconnecting any external devices. If the built-in picture looks right, you’re dealing with a device or cable issue. If it still looks off after a full reset, the panel itself may have a hardware problem — which is genuinely rare, but it does happen.
Most of the time though, it’s a setting. A single setting, sitting quietly in the wrong position, making everything look wrong. That’s worth checking before assuming the worst.